By: Dan Lambert, CTI, Lambert Tile and Stone
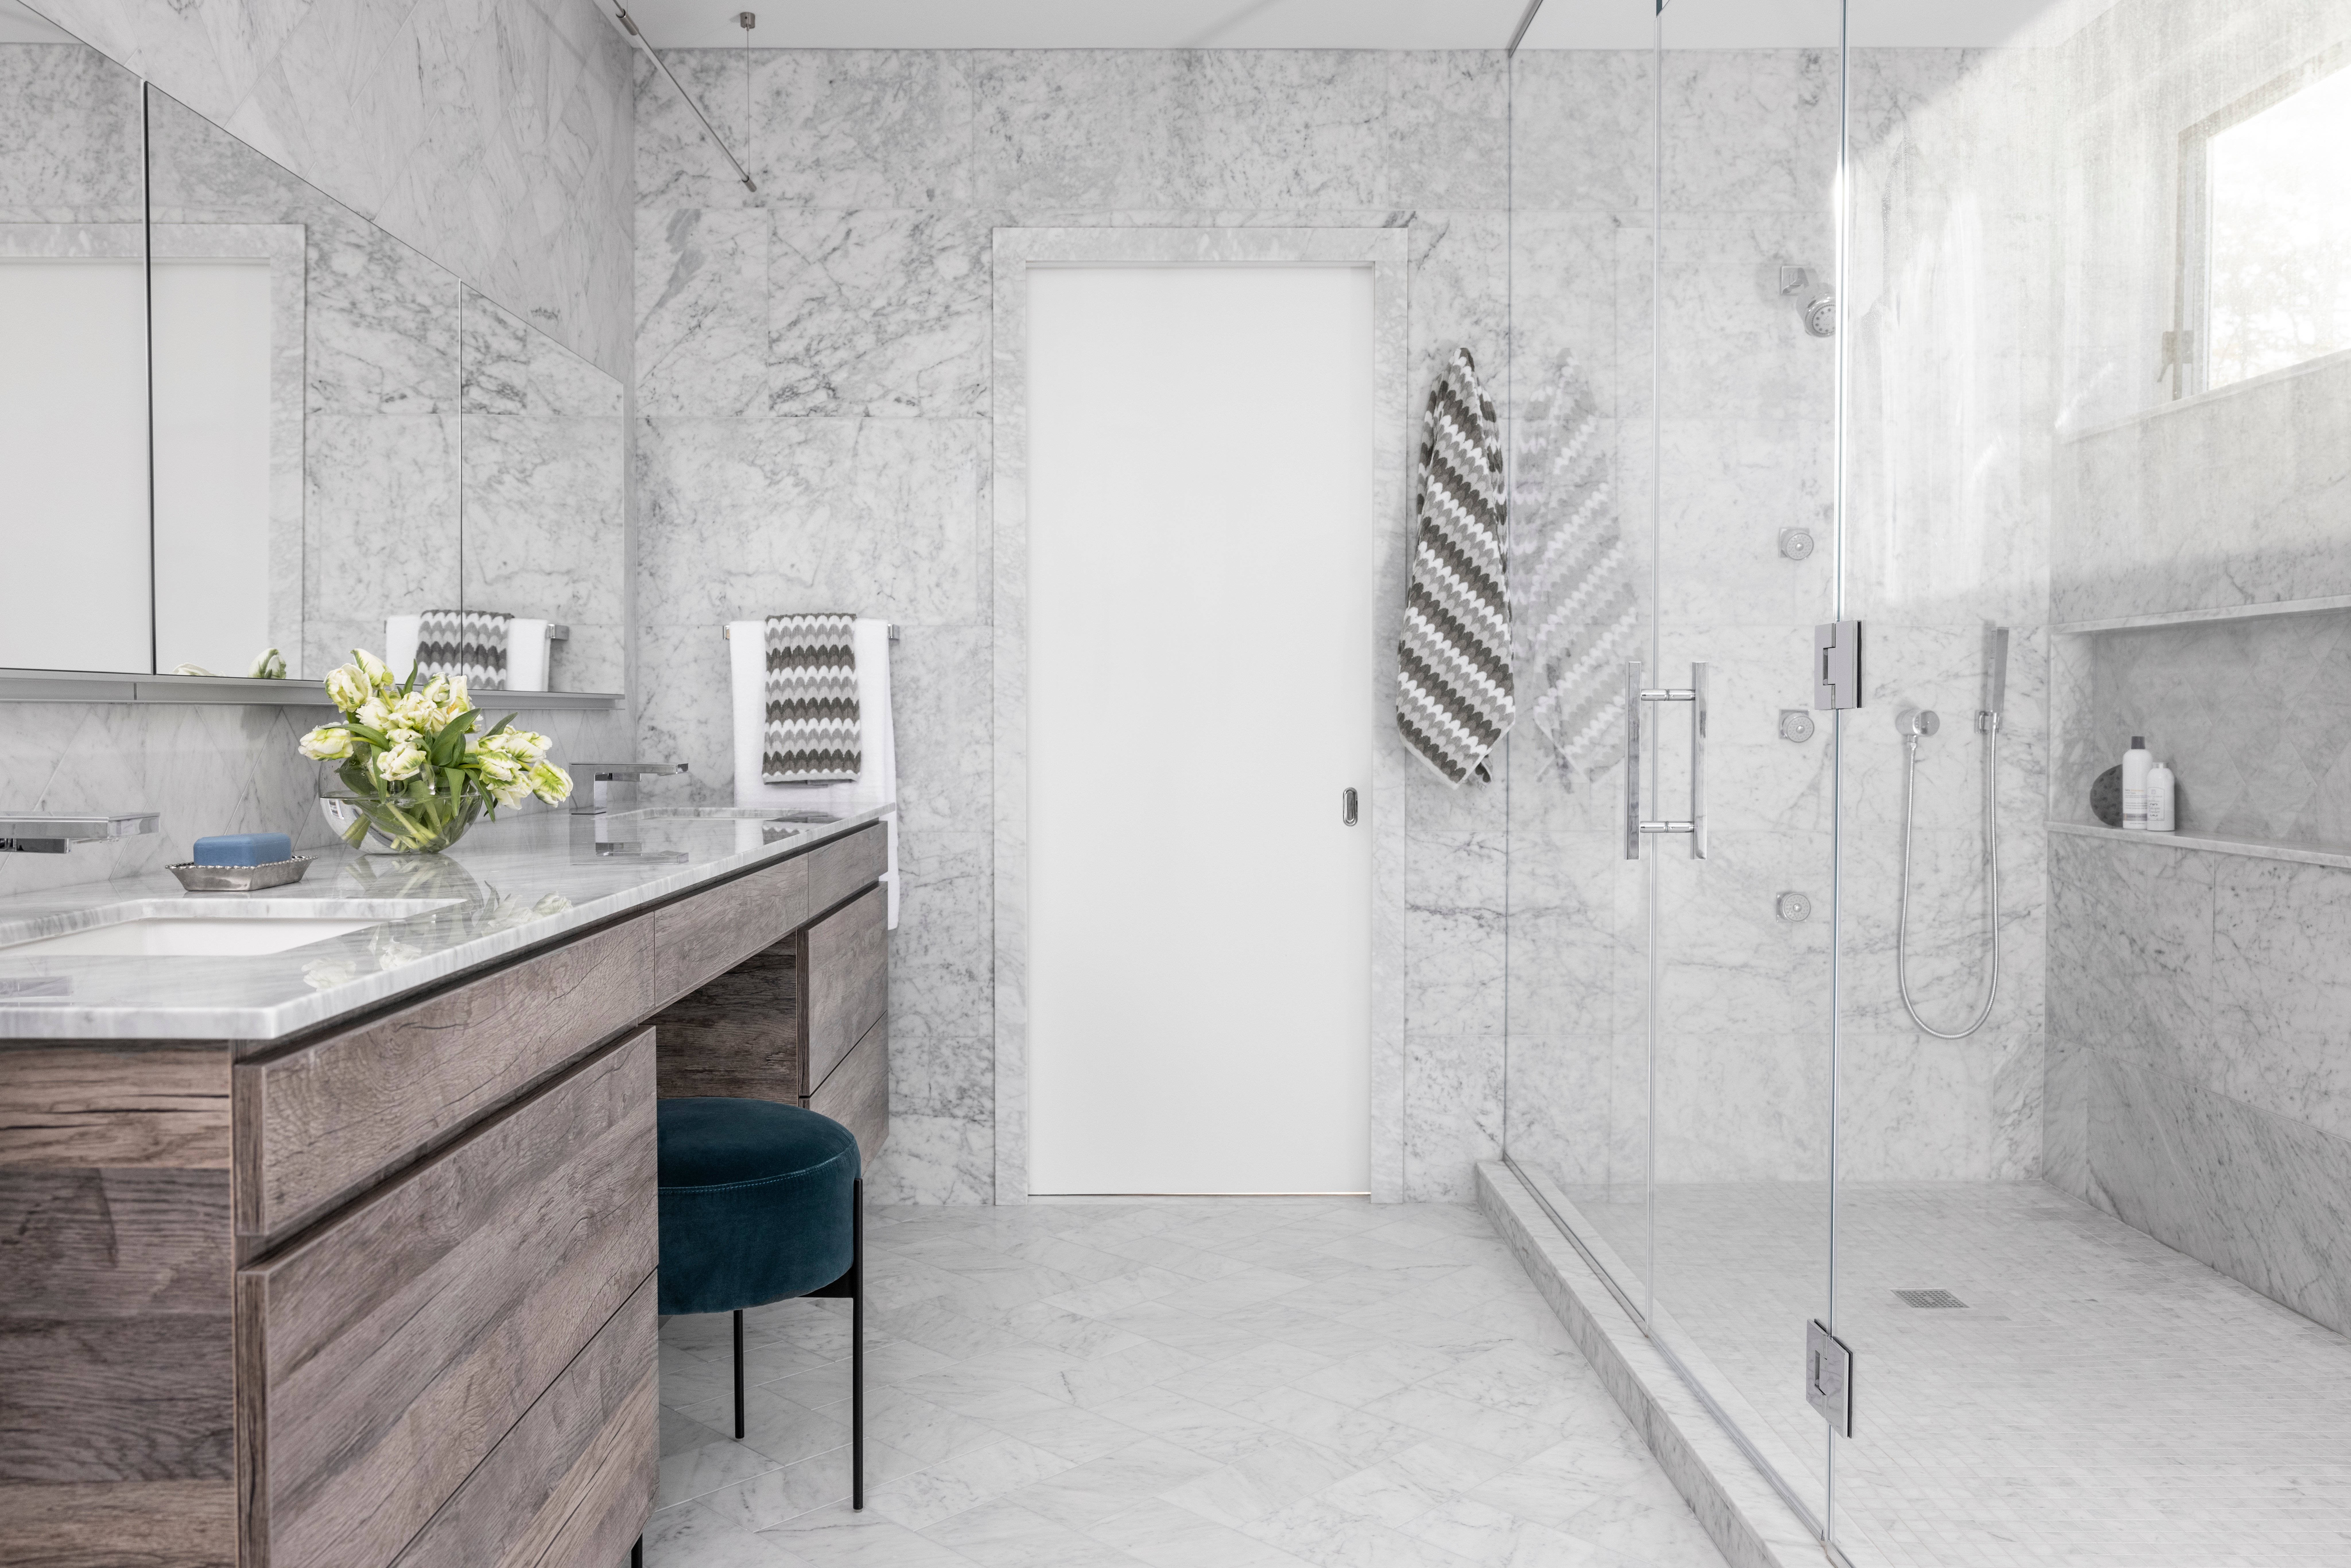
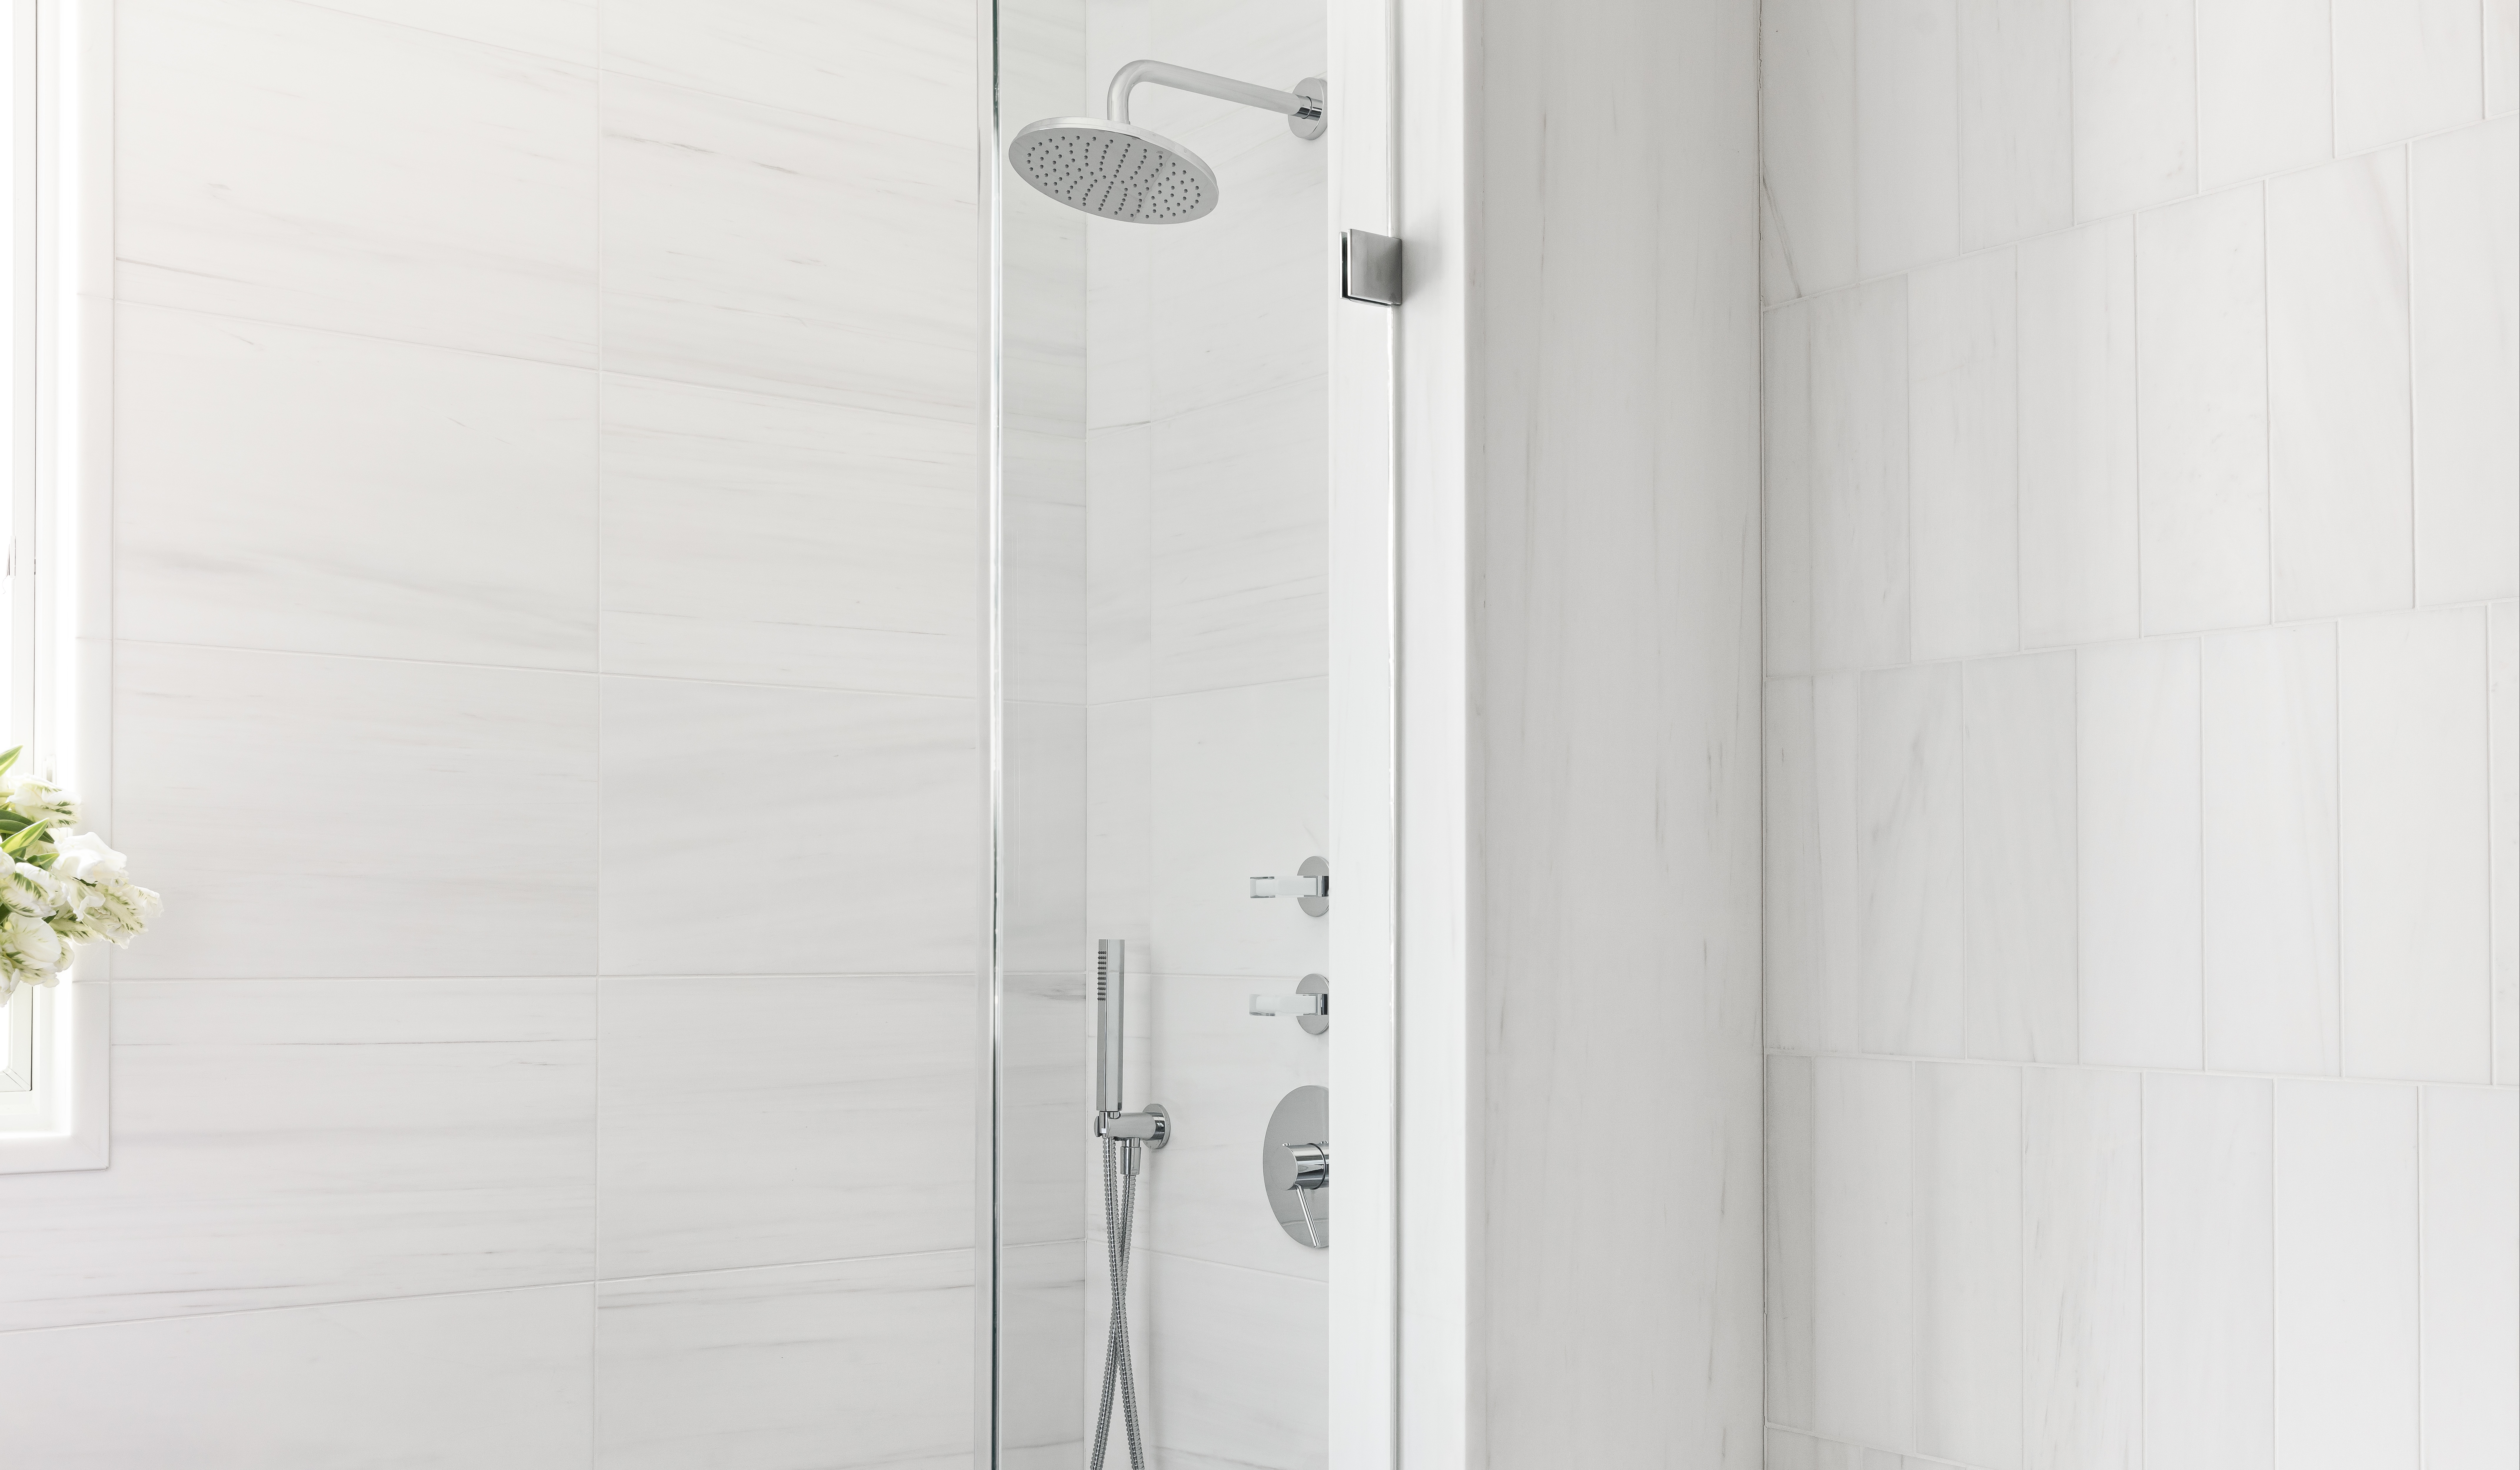
When it comes to designing with stone, white marble is a timeless, beautiful option with near limitless applications of use for hundreds of years. In today’s modern world, the sophisticated beauty of white natural stone remains a top choice for design professionals keen to sustainability.
As a member of the National Tile Contractors Association (NTCA) Technical Committee, I have seen a substantial rise in moisture related staining of white marble, particularly on shower floors. Members of the NTCA Technical Committee, have found water stains on white marble to be an issue for which we have all been searching for answers. The NTCA Technical Committee is made up of industry professionals including manufacturers of tile and installation materials, industry consultants, reps, and leading tile contractors.
Although the use of natural stone on shower floors is nothing new, there is definitely a rise in the number of calls we receive regarding stone in wet areas and particularly white marble on shower floors. The good news is that there are options available to avoid these unsightly moisture issues when the use of a porcelain tile substitute is not acceptable.
![Lambert Marble Photo 2[24] -2](https://blog.decorativematerials.com/hs-fs/hubfs/Lambert%20Marble%20Photo%202%5B24%5D%20-2.jpg?width=1000&height=1412&name=Lambert%20Marble%20Photo%202%5B24%5D%20-2.jpg)
The options below have been proven to mitigate moisture issues. Incorporating all of these options will provide the best long-term success of the tile assembly.
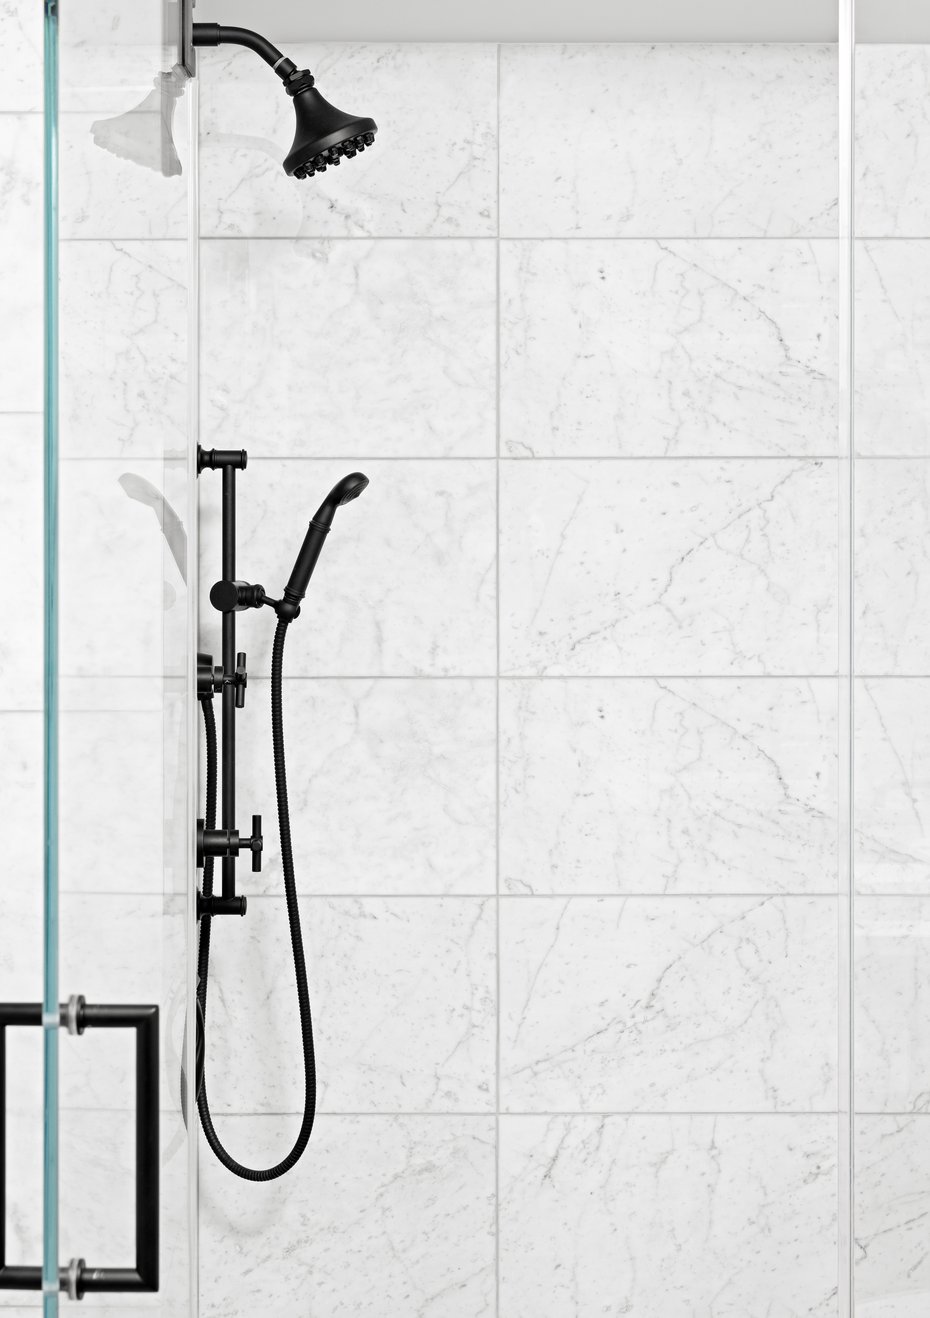
- Ensure that a consistent, uniform slope from the perimeter of the shower floor to the drain is provided. It must have no less than a 2% grade and a maximum of 4% grade. Any low spots or an inconsistent slope will impede moisture flow to the drain, resulting in dark areas at those locations.
- Use an appropriate topically applied, waterproof membrane meeting IAPMO/UPC requirements. This must be applied to the manufacturers recommended thickness over top of the shower floor and up the walls a minimum 3 inches above height of the finished curb.
- Six side seal all marble tile prior to installation.
- Install marble tile with epoxy mortar and grout.
- Fill ¼” of the perimeter movement joint with flexible sealant.

While these five points when used together will significantly lower the risks of a failed installation, this is not a guarantee as variations of materials and site conditions very greatly.
I also recommend that if there is a concern regarding the performance of any product, to perform a mock up and test it thoroughly.
It is also recommended to follow the tile manufacturers usage recommendations, especially when it comes to wet areas. A manufacturer will not stand behind a failed installation if it was installed in an application they did not recommend. You can usually find this information on their website or you can ask your Decorative Materials Design Consultant or contact us for details.


.jpg)